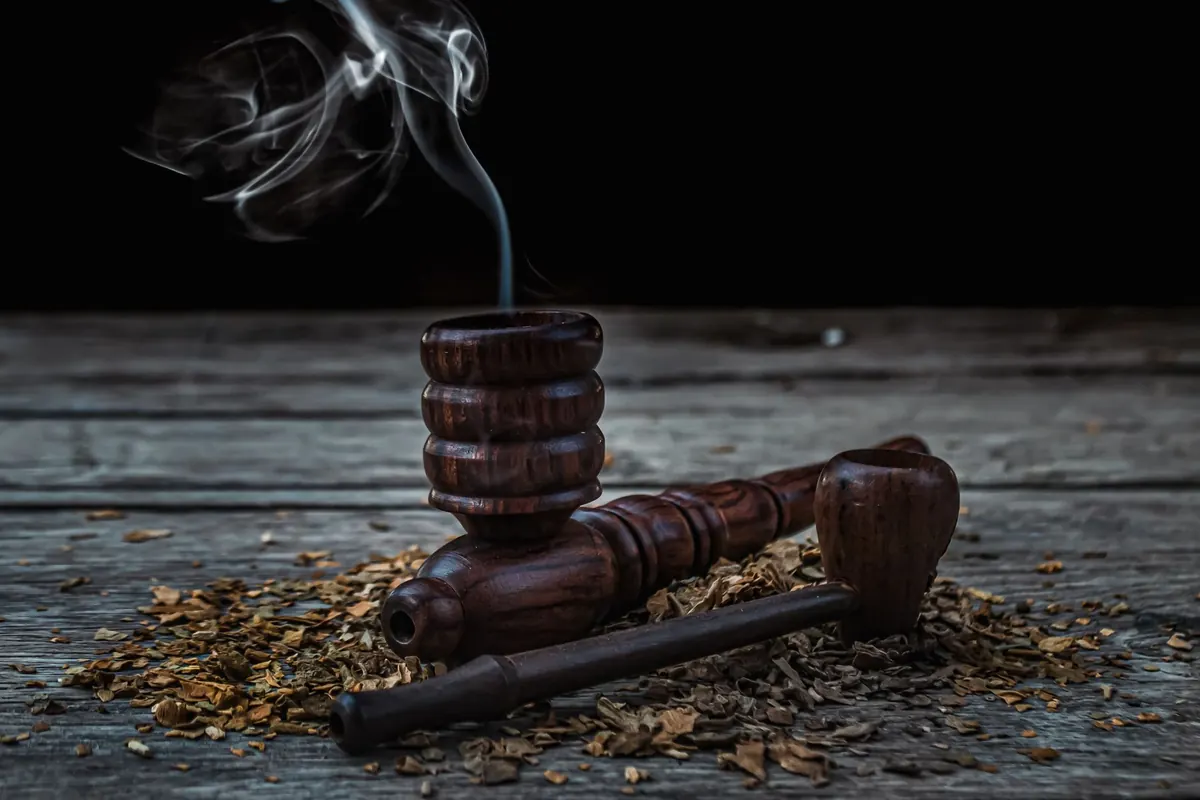
Most new pipe smokers blame the tobacco for a hot, biting bowl. More often it is the packing. A bowl packed too tight pulls like a blocked drain and burns fierce; packed too loose it goes out every few minutes and turns bitter halfway down. Get the pack right and everything else becomes easier: fewer relights, a cooler smoke, and more of the flavour you paid for.
Packing is a skill of the fingers rather than a secret, and it takes a few dozen bowls before it feels natural. The method below is the one most experienced smokers come back to.
What a Good Pack Feels Like
Before you touch the bowl, deal with the tobacco. Ribbon-cut blends are ready when a small pinch clumps together and then slowly springs apart. If it stays in a damp lump, or feels cool and sticky, spread it on a sheet of paper for fifteen to thirty minutes and test again. Flakes can be rubbed out into ribbons for this method, though folding and stuffing works well once you are confident.
Have a clean pipe, too. Tap out old dottle, run a pipe cleaner through the stem, and check the draught hole at the bottom of the bowl is clear. A good pack feels springy rather than solid: press the surface with a fingertip and it should give slightly, like a firm cushion. Aim to finish about three-quarters full, leaving a small gap below the rim so the tobacco has room to expand as it heats.
The Three-Layer Method
Also called the three-step fill, this builds the bowl in bands of increasing density. The bottom stays open so air can move; the top holds the embers together.
First layer: let it fall in
Sprinkle tobacco into the bowl, or pinch it and let it drop, until it mounds over the rim. Resist pushing it down with your fingers. Now tamp very lightly, using little more than the weight of the tamper, until the surface is level. The tobacco should sit roughly a third of the way up the bowl. That light touch at the bottom is what keeps the draw open later.
Second layer: a firm nudge
Fill to the top again and tamp with a little more pressure, enough to compress the surface but not to pack it down hard. Aim for slightly under two-thirds full. You will still see an old mnemonic describing these three pressures in terms of three people; the language is dated, but the pressures it describes are sound.
Third layer: firm, but never crushed
Fill a final time, tamp with firmer pressure, and finish slightly below the rim. The surface should still feel springy. If your thumb leaves a hard, unyielding plug, you have gone too far and the smoke will be hot and tight. Tip it out and begin again; two minutes now saves twenty spent fighting a bad bowl.
Test the Draw Before You Light
Draw on the unlit pipe, mouth end only. The resistance should feel like sipping water through a straw: noticeable, but easy. If it feels like a thick milkshake, the pack is too tight. If there is almost no resistance at all, it is too loose and the tobacco will burn hot and fast.
Two quick fixes. Too tight: run a pipe cleaner through the stem and gently loosen the top with a pipe nail or the flat end of a tamper. Too loose: add a small pinch on top and tamp it lightly. This test is the single most useful habit here, so do it every time.
Lighting: Charring Light, Tamp, True Light
Light the surface with a match or a soft flame, moving the flame in circles around the rim rather than holding it over the middle. Take a few gentle draws and let the tobacco swell and darken. Then stop, let it go out, and tamp lightly to level the ash. That first pass is the charring light.
Now light properly. Hold the flame just above the tobacco, draw slowly and steadily, and work around the edge of the bowl as well as the centre. Keep the flame off the rim itself; scorch marks are permanent. The tobacco should glow evenly across the whole surface, not just in one spot.
When It Goes Wrong
Nearly every problem in the first few months comes back to packing, moisture or pace. Work through this list before you blame the blend.
- It keeps going out. Usually too loose, or the tobacco is damp. Tamp lightly, relight, and dry the next bowl a little longer.
- Hot, harsh and bitter. Too tight, or you are drawing too hard. Loosen the top of the bowl, then slow down and sip rather than puff.
- Burns down the centre only. The edges were never properly lit. Next time, light the whole surface and tamp the outside a touch more than the middle.
- Gurgling and wet. Steam condensing in the stem. Smoke slower, dry the tobacco, and run a pipe cleaner through partway down the bowl.
- Tongue bite. Almost always steam rather than heat, caused by a wet bowl smoked too quickly. Set it down for five minutes.
Rhythm: How to Keep It Cool
Once lit, a pipe wants to sit. One gentle draw every ten or fifteen seconds is plenty; treat it as a slow conversation. Tamp occasionally to level the ash, using the weight of the tamper rather than force, and only when the burn needs it. Constant fiddling is how bowls get smothered.
If the pipe turns hot and unpleasant, stop. Let it go out, leave it a while, and relight later. Relights are normal and do not mean you have failed.
Practise With an Empty Bowl
The fastest way to learn is repetition without a lit pipe in the way. Fill a bowl using the three-layer method, test the draw, then tip the tobacco onto a sheet of paper and do it again. Five rounds takes a few minutes, and your fingers learn the pressures far quicker than they would across five smokes. Vary the tobacco as you go: a fine shag packs differently from a coarse ribbon, and a flake rubbed out behaves differently again.
Keep your early bowls simple, dry them well and smoke them slowly. Skill with a pipe is mostly patience with a little practice attached. One plain note worth remembering: all tobacco smoke is harmful to health, so if you are concerned about how smoking affects you, speak to your GP.
Photo: Vipul’s Viewfinder / Pexels